Repair & restoration
Paver Repair and Restoration: Fix the Cause, Not Just the Surface
Interlocking pavers have one big advantage over a slab: they can be taken apart and put back. That makes most repairs local and nearly invisible — as long as the repair deals with why the surface moved in the first place.
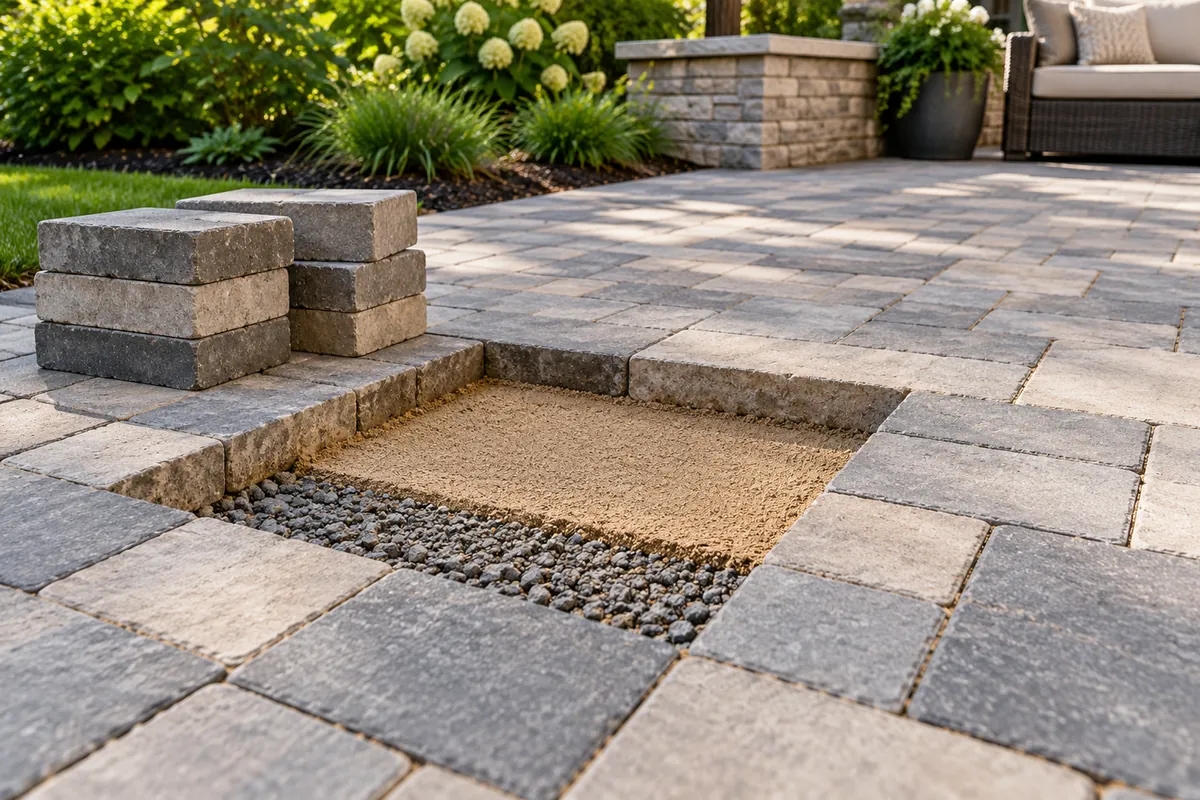
Diagnose the problem
| What you see | Likely cause | Typical fix |
|---|---|---|
| Sunken or low spots | Soft subgrade, base settling, or water undermining the base | Lift the pavers, correct the base and bedding, relay flush. Sealer cannot level a dip. |
| Rocking or uneven units | Uneven bedding, lost joint material, or minor base movement | Lift, re-screed bedding, relay, refill joints |
| Cracked or chipped unit | Impact, a point load, or a single defective unit | Swap that unit for a matching one; the repair is usually hard to spot |
| Weeds, ants, empty joints | Joint material washed out or never fully filled | Remove growth, clean joints, refill (often with polymeric sand) |
| Pavers spreading at the edge | Missing, broken or poorly anchored edge restraint | Reset edge courses and re-install or replace the restraint |
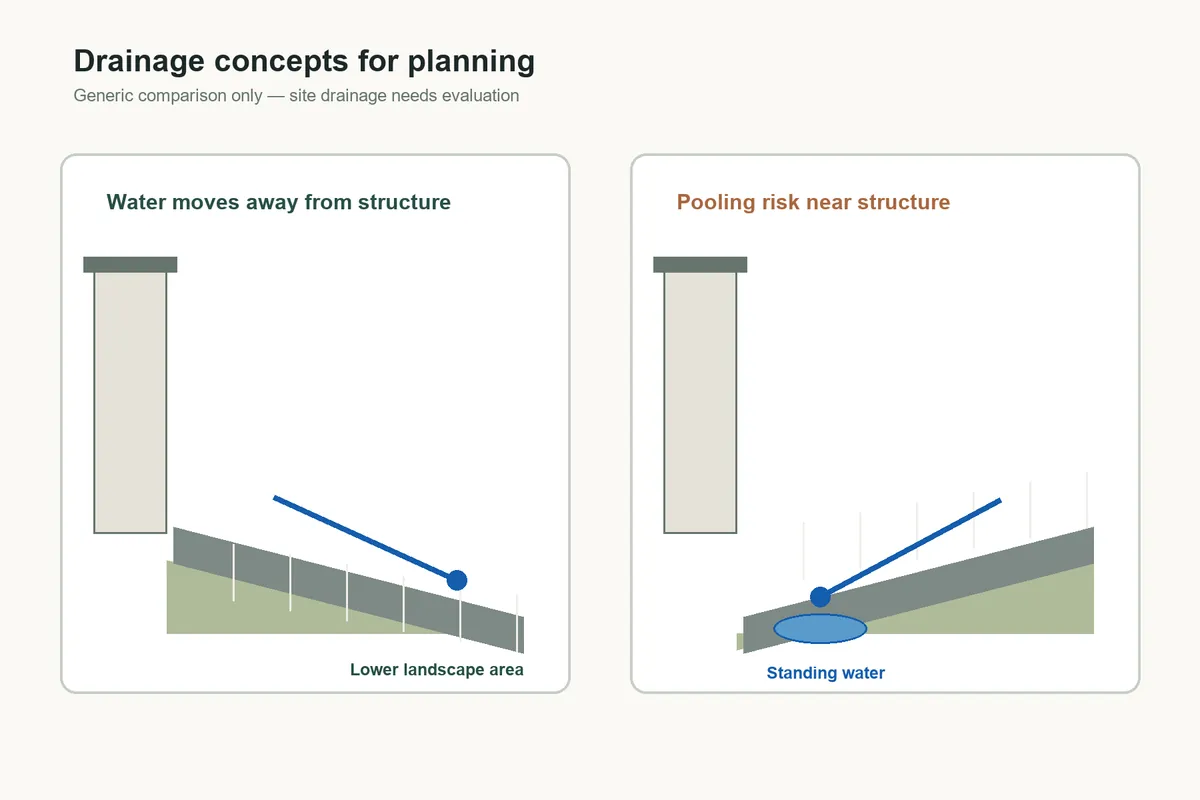
| Ponding or ice patches | Surface or base pitched the wrong way, or a low area | Relay the area to the correct slope; may need base rebuild |
| White haze on new pavers | Efflorescence (mineral salts) | Usually fades on its own; avoid sealing until it has cleared |
| Oil, rust or leaf stains | Spills, metal contact, tannins | Each stain type needs a different cleaner; badly stained units can be swapped |
Spot repair or rebuild?
Spot repair usually works when
- Problems are limited to a few areas or units
- The surface still drains away from the house
- Edges have moved but the field is sound
- Matching or acceptable replacement units are available
A rebuild is likely when
- Settling or ruts appear across most of the surface
- Water ponds widely or runs toward the foundation
- The original base was thin or never compacted
- The same areas sink again after earlier resets
Replacing pavers without correcting a failed base repeats the failure. The base and drainage reasons are covered in why paver surfaces fail.
Restoring a tired surface
- InspectWalk the surface after rain: note low spots, rocking units, empty joints and edge gaps.
- Repair firstLift and relay sunken or rocking areas and swap damaged units before any cleaning or sealing.
- CleanRemove weeds and moss; treat stains individually; use low pressure so joint material stays put.
- Re-sand the jointsRefill with joint sand or polymeric sand suited to the joint width, in dry weather.
- Seal, if wantedOptional for some products; if used, follow the maker's cure times before traffic.
Once the surface is sound, routine care is covered in paver sealing and maintenance.
What can make it worse
- High-pressure washing can strip joint sand and etch the surface; guides recommend low settings or a rotary surface cleaner.
- Sealing too early on new pavers can trap efflorescence; one guide recommends waiting about 30 days.
- Sealing over a dip does nothing for level: low areas have to be relaid.
- Harsh de-icers are disputed for concrete; see winter paver care.
When to schedule it
Repairs that involve the base wait for the ground to thaw and dry. Re-sanding with polymeric sand and sealing need dry weather to cure, which one contractor source puts at roughly April to October. Spring is a good time to spot frost damage; fall is a good time to fix joints before winter. See fall planning for a spring patio for how the Minnesota season runs.
Questions for a repair quote
- What do you think caused the problem, and will the repair address that cause?
- Does the quote include lifting and relaying, base correction, or only surface work?
- Where will replacement units come from, and how close a match can I expect?
- Which joint material will you use, and does it suit my joint width?
- Is sealing included, and is it necessary for my pavers?
Repair questions
Is it worth repairing old pavers, or should I replace the whole surface?
If the problems are local — a few sunken areas, cracked units, empty joints — repair is usually far cheaper than replacement, because individual units can be lifted and relaid. If the whole surface is settling, ponding everywhere or the base was never adequate, a rebuild on a new base is the lasting fix.
How often do pavers need re-sanding or sealing?
Sources disagree: roughly 1–3 years for regular joint sand, 3–15 years for polymeric sand, and sealing anywhere from every 1–3 years to optional. The full comparison is in paver sealing and maintenance.
Sources and limitations
- Repair, maintenance and restoration guidance summarized in research — Lake Norman Hardscapes; Coastal Hardscapes; Pavers Ordonez; Perfect Pavers; Craft Pavers. As summarized in research reviewed October 2026: lift-and-reset for sunken units; sealer cannot level pavers; single-unit swaps; joint refill with polymeric sand; edge-restraint replacement; low-pressure cleaning; wait about 30 days before sealing new installs. Limitation: Contractor guidance from outside Minnesota; not re-checked at each source for this page.
- Polymeric sand and sealing season — KWC Polymeric Sand (as summarized in research). Resanding and sealing work runs roughly April–October because polymeric sand needs dry conditions to cure. Limitation: Single contractor source; not re-checked for this page.